How to Deploy a Self-Hosted AI Web App with DeepSeek R1 Locally in 5 minutes
Introduction
In an era where data privacy and cost efficiency are paramount, self-hosting AI models has become a critical skill for developers and businesses. The open-source DeepSeek R1 model has emerged as a high-performance, cost-effective alternative to proprietary AI solutions, while local deployment ensures sensitive data never leaves your infrastructure. In this guide, you’ll learn how to deploy DeepSeek R1 on your machine using Ollama and Open WebUI, creating a secure, private AI-powered web application.
Why Self-Host AI Models?
Before diving into the technical steps, let’s address the “why”:
Data Privacy: Avoid sending sensitive prompts to third-party APIs. Cost Control: Reduce reliance on pay-per-use cloud services. Offline Access: Run AI inference without an internet connection. DeepSeek R1, with its competitive performance and open-source ethos, is an excellent choice for this setup.
Tools we are going to use
- Ollama: A lightweight framework for running large language models (LLMs) locally.
- Open WebUI: A user-friendly, self-hosted web interface for interacting with LLMs (think “ChatGPT, but offline”).
- Docker: For seamless deployment of Open WebUI.
Install Ollama
Ollama simplifies local LLM management. Here’s how to get started:
- Visit the Ollama download page and download the latest release for your OS (Windows, macOS, or Linux).
- Install Ollama following the steps for your system
- Launch Ollama and verify that it is running by opening http://localhost:11434/
Deploy Open WebUI with Docker
Open WebUI provides a sleek interface for interacting with your model. Docker streamlines its setup:
- Ensure Docker is installed on your machine.
- Run the Open WebUI using the default config (taken from the Github repo):
docker run -d -p 3000:8080 --add-host=host.docker.internal:host-gateway -v open-webui:/app/backend/data --name open-webui --restart always ghcr.io/open-webui/open-webui:main - Access Open WebUI at http://localhost:3000/
- Create a user account when prompted.
Download the DeepSeek R1 Model
With Ollama and Open WebUI running, it’s time to pull the model:
- In Open WebUI, click the model selection dropdown (top-left corner).
- Search for
deepseek-r1and select the desired variant. For most users, the 8B parameter version is good enough as it provides a balance between speed and accuracy (e.g.,deepseek-r1:8b). - Click Pull to download the model.
Note: Model size varies (e.g., 8B parameters requires ~5GB of RAM). Adjust based on your hardware.
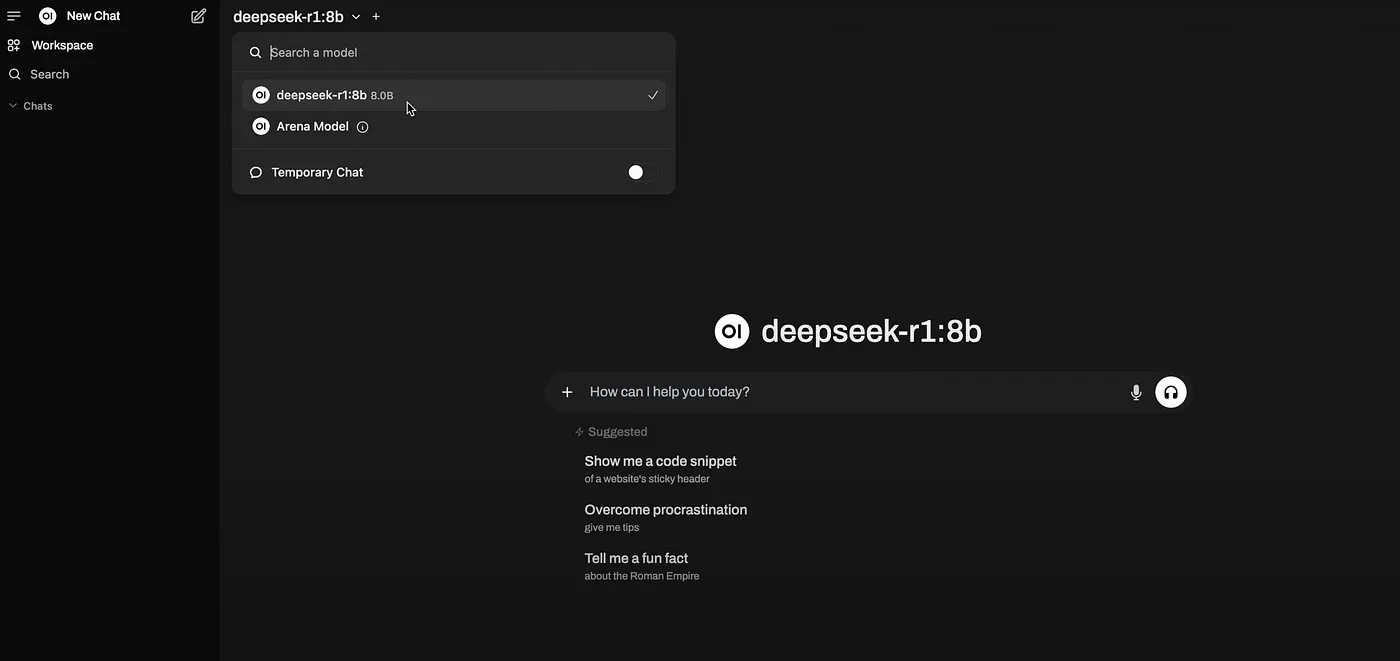
Once the model finishes downloading you can start interacting with the model via the chat interface. Your prompts and data stay entirely on your machine.
Why this matter?
By self-hosting AI models like DeepSeek R1, you reclaim control over your data and reduce dependency on external providers. This is very usefull in the following cases:
- Businesses handling confidential information.
- Developers building offline-first applications.
- Privacy-conscious users tired of opaque AI services.
The democratization of AI through open-source models and tools like Ollama empowers individuals and organizations to innovate securely. Whether you’re prototyping a chatbot, analyzing internal documents, or experimenting with AI, this self-hosted approach ensures your data remains yours.